Showing posts with label sewing. Show all posts

Monday, November 30, 2015

Fat Quarter Tote Tutorial (It's totes reversible!)


For the first time ever, I'm attempting a sewing tutorial.
I'm making a million of these at the moment for teacher gifts and Christmas gifts for the family.

Sew....here we go...

Hang on for the ride and let me know if I slip up anywhere!


1. Find 2 complimentary fat quarters (pre-cut fabric pieces that you'll find at any good fabric or craft store).


2. Iron both pieces to remove fold lines.


3. I use a squirt of water for stubborn creases.


4. Place one piece over the other and trim off any excess to ensure both are the same size.
 *Yes, I am a leftie, don't be too freaked out!*
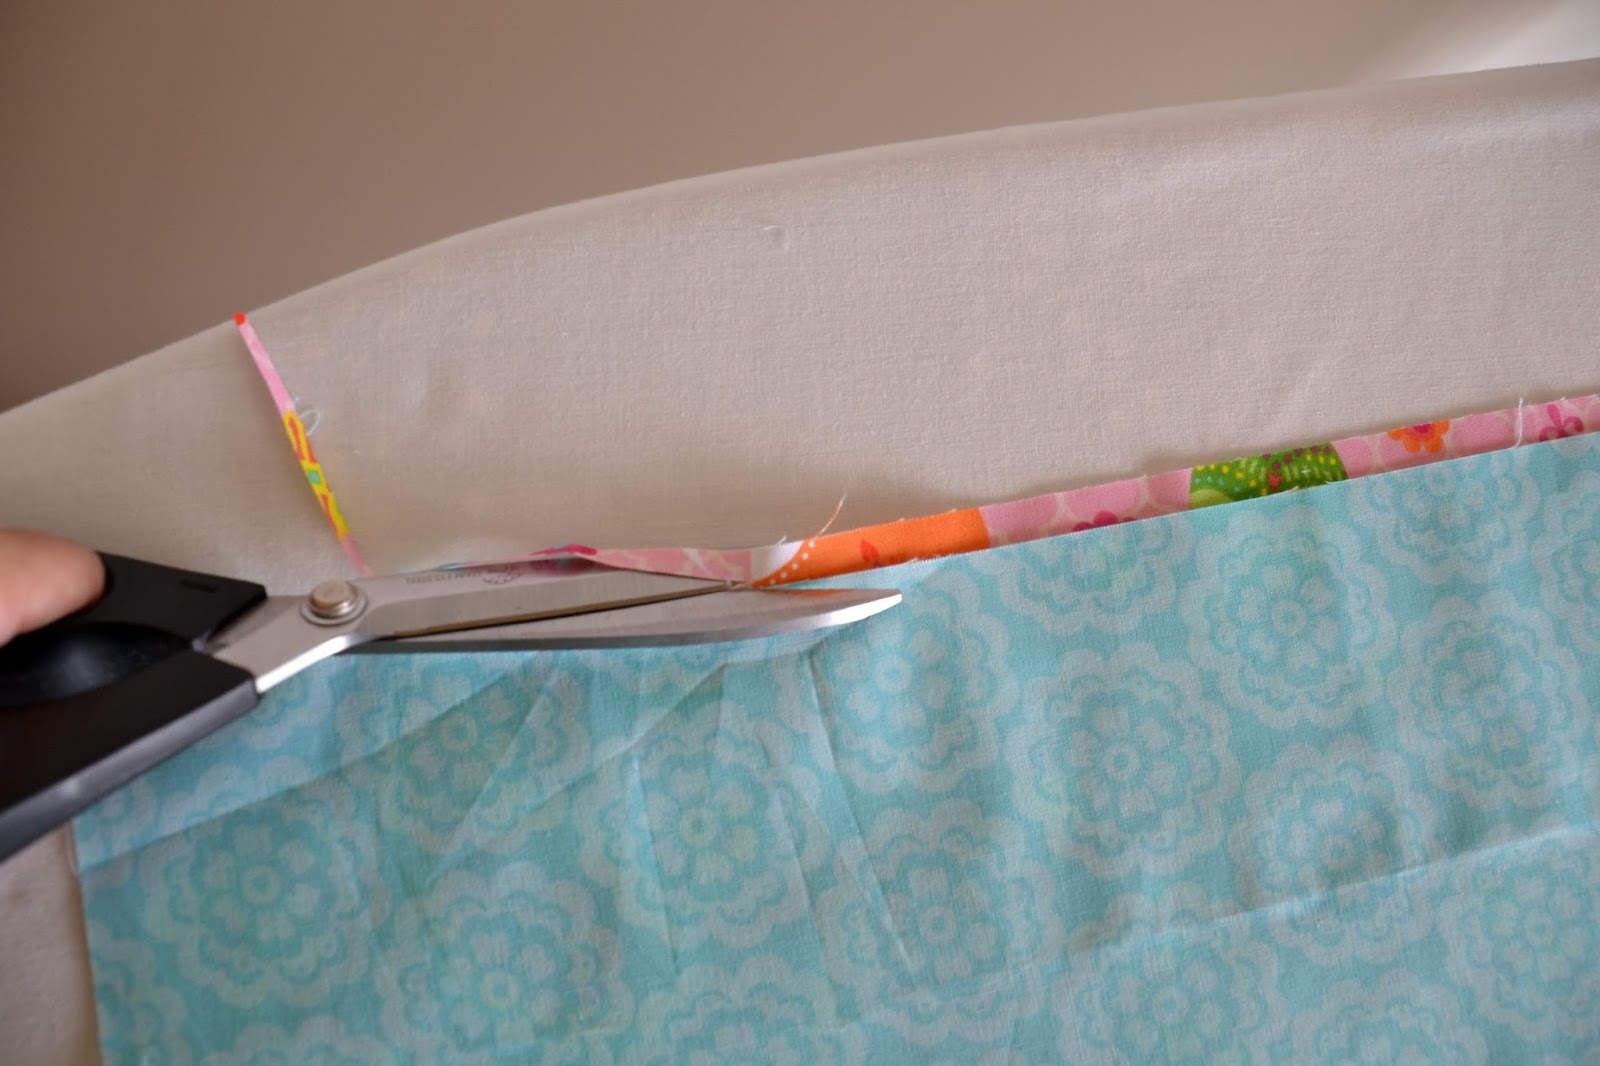


5. Keeping both pieces together fold in half so the short edges are together. Cut a 4½ in (11½ cm) strip and a 4 in (10 cm) strip from the folded edge. 


6. Take one of the 4 in (10 cm) strips to make a strap. Press in half lengthwise.


7. Open it up and press one edge to the middle fold-line.


8. Turn it around and do the same with the other edge so you have both edges pressed to the middle line.


9. Fold it all in half again and give another press.


10. Edge stitch the folded edges together.


11. And then edge stitch the other edge of the strap.

(Repeat steps 6 - 11 with the second 4 in (10 cm) strip to make 2 straps.


12. Take one of the large sections and the contrasting 4½ in (11½ cm) strip. Place long edges together.


13. Stitch together using a ¼ in (½ cm) seam.


14. Press open...


making sure the seam is facing the bottom edge.


15. Fold in half with right sides together and make sure the seam you have sewn is matching.


16. Sew the long edge and bottom together with a ¼ in (½ cm) seam.


17. Clip corners.


18. Turn right side to outside and press the seams flat.

(Repeat steps 12 - 18 with the remaining 2 sections of fabric)


19. Take one of the bag pieces, fold it in half lengthwise, and make a small snip halfway along on the top open edge through all 4 layers.


20. Centre the strap ends over the snips taking care not to twist the strap and pin.
Do the same with the second strap on the other side.


21. Machine baste (using your longest stitch length).


22. Turn one of your bag sections inside out and place the other one inside it.
Keeping raw edges together and matching the side seam, pin and machine stitch using a ½ in (1 cm) seam.


23. As you are stitching around the top, use your longest stitch between the handles on one side only.


24. For the section between the handles only, where you used the long stitch, press both sides of the seam back with your iron.


25. Then unpick the long-stitched section with a seam ripper to make an opening and turn both sections right side out through the opening.


26. Push one section back inside the other and edge stitch around the top, stitching the opening closed as you go.


And there you have it...a totes reversible mini tote!


Try to stop at just one...I couldn't!!


Sunday, December 2, 2012

Sewing on Sunday

What have I been up to in the sewing room this week?
I'm, glad you asked. :)

No more peg pouches...yet.
I have bought the fabric for some more but I was busy finishing off peg aprons this week.
The very exciting news is that I sold five peg aprons to another mum at school for Christmas gifts from my Made It store...


These are the two new ones I made this week.

PicMonkey Collage
The smaller spot has sold, the larger spot is still listed.

I also made two too cute skirts for my Miss 5 from leftover fabrics.
Gotta love leftovers!!

025


Sew...what have you been up to in your sewing room this week?

Saturday, November 24, 2012

Sewing on Saturday

I did it, I did it!
I did some sewing today!!
And I'm sure it was only to get something up on this post.
See, it did work.

I made one peg pouch and I'm very pleased with it.
I cut my own pattern by modifying the peg apron.


080


I moved the straps from the sides to the top and made it narrower with only one pocket instead of two.

Now I can just tie it around my neck and sling it on and off whenever I need it.
Too easy!!

083
 
I can't wait to make more in different colours and fabrics.
Got any good suggestions?


Sew...what have you been up to in your sewing room this week?

Linking up with


Saturday, November 17, 2012

Sewing on Saturday

This blog has been very neglected of late.
And so has my sewing machine...hmmm I see a correlation here.

So I've decided to start a 'Sewing on Saturday' weekly post updating what I've been doing in the sewing room. That might motivate me to actually do something!
I hope...or this will be a very boring space.

I went to Lincraft this morning and purchased some fabric.
I haven't done that for ages, gee it felt good!
There's a new idea rolling around in my head. I want to modify my peg apron.

Peg aprons


I love my peg apron, but sometimes I'm too lazy to tie it at the back so I've taken to leaving it tied and slinging it over one shoulder. So it's become more of a 'peg pouch'.

And that is my new idea...a peg pouch.
I'm going to use this fabric, and hopefully it will all come together soon so I have something to show you next week!


Sew...what have you been up to in your sewing room this week?

Friday, October 12, 2012

Kids Utility Apron

Aprons aren't just for girls.
Oh no....

I made this for a friend's 9 year old boy.


Saturday, February 25, 2012

Polka Dot Aprons

I have made a new batch of aprons for my shop on Made It.
I'm loving them!
I used this pattern...

Butterick 4945

...and made these...


Want one?
They're for sale here...
 Click on the button to see.


Wednesday, December 14, 2011

The Christmas Dress

My sewing machine has been working over time lately!
And for a 20-something year old basic little Janome, it's been doing a brilliant job.
I do love my sewing machine!!

After I finished the 9...nine...Christmas aprons, I had small piece of the gorgeous birdie fabric left to make a Christmas dress or skirt for my Miss 4. I needed to match it with some other fabrics but I knew that wouldn't be difficult because there are so many beautiful Christmas fabrics around at the moment. So I went to Lincraft and chose red spot, and red owl & hearts fabrics.


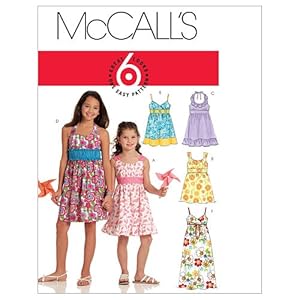
And Miss 4 helped me pick this pattern...

McCall's 5838
 I hadn't made a Christmas dress for her before...I know...slack mum!!
But I was excited about making this one.
It turned out I didn't have quite enough birdie fabric for the frill, so I added an extra red spot frill.
So, after cutting out 12 pattern pieces (I wouldn't call this an easy pattern) and spending all day sewing (I wouldn't call it quick either) I was very, very happy with the end result.


And so was Miss 4, who "really, really, really" loves it!


And today I think my trusty sewing machine (and I) need a rest!